Selecting and Playing Part of a Movie
To perform editing functions such as Copy and Delete, in most cases you need to first
select the desired portion of a movie. (If you don’t select anything, the edit commands
work on the current frame.)
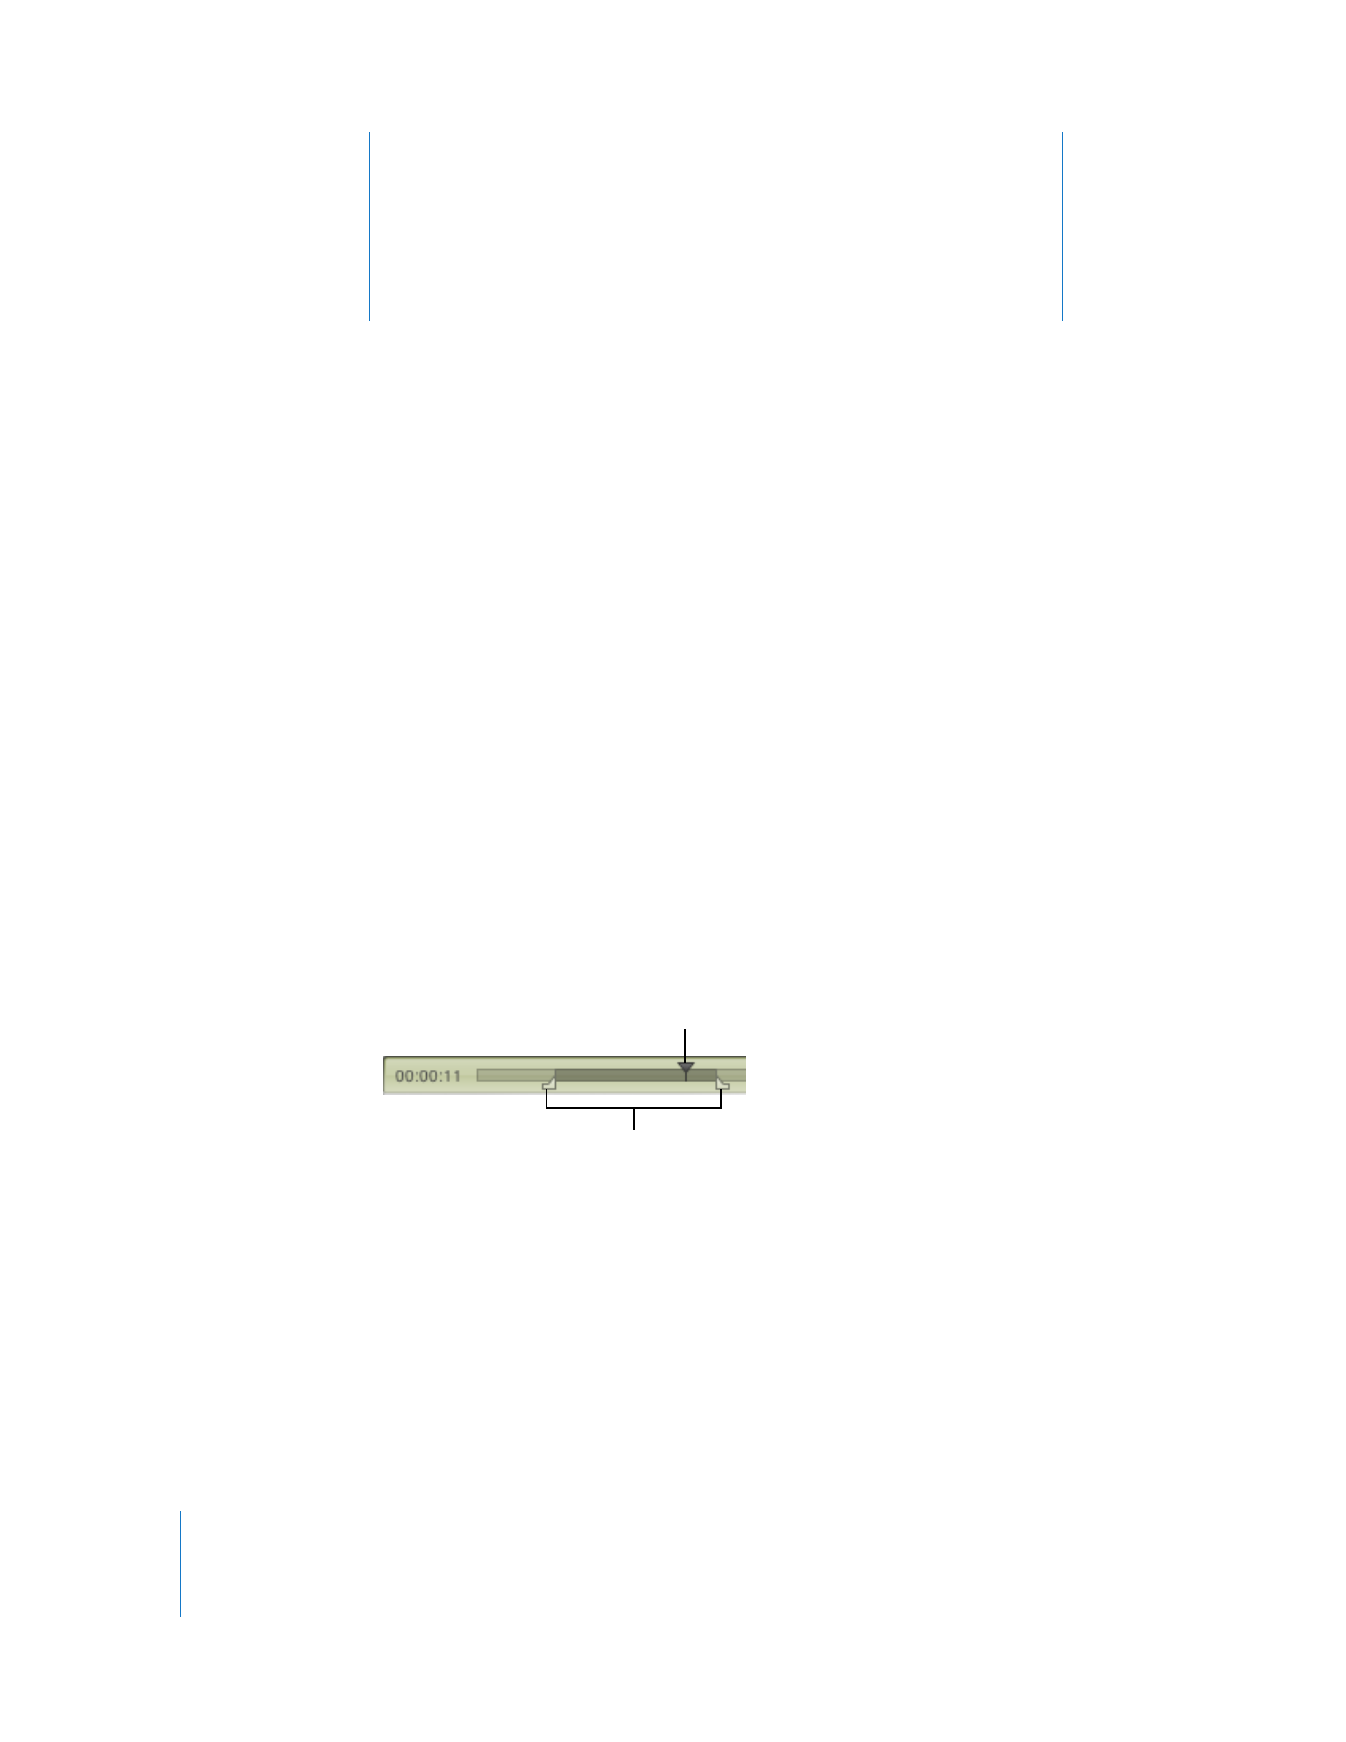
To select a portion of a movie, move the In and Out selection markers. The darkened
area between the two markers indicates the selected portion. To fine-tune the
selection, select a marker and move it with the arrow keys. You can also move the
playhead and press I (for In) or O (for Out) to set the start or end point of the selection,
even while the movie is playing.
To play the selection, choose View > Play Selection Only (so that the checkmark
appears), then click Play. To play the whole movie, choose View > Play Selection again
(to remove the checkmark).
With QuickTime Pro, you can save the movie (choose File > Save) so that the next time
it is opened, only the part you selected plays.
Tip: To move the In or Out marker
to a different position, drag the
playhead to the desired position
(or use the arrow keys), then press
I or O.
In and Out markers,
showing the selected
portion of the movie
The playhead

Chapter 3
Editing and Authoring with QuickTime Pro
31
Note: By default, the selection markers hide when nothing is selected, making it easy
to determine whether or not a frame is selected. To turn off this option so that the
selection markers appear even when nothing is selected, change the “Hide selection
indicators for empty selection” option in QuickTime Player preferences.